Managing Resources
Using the Stream Processing resource as an example, this topic shows how to request for resources, extend resource allocation, change resource quota, view the status of resource allocation, and set alarms for resource usage rate.
Prerequisites
Full access permission to the Resource Management module.
Procedure
The procedure for managing the Stream Processing resource is as follows:
- Request for the Stream Processing resource.
- View resource allocation status.
- Extend Stream Processing resource allocation.
Requesting for the Stream Processing Resource
Log in to the EnOS Management Console and click Resource Management > Resource List from the left navigation panel.
Under the Enterprise Data Platform tab, click the Request Resource button for Stream Processing resource.
View description of the resource specification, estimate the needed resources, and select a resource type.
Click the Request Now button to submit the request. The system will allocate resources according to the request review result.

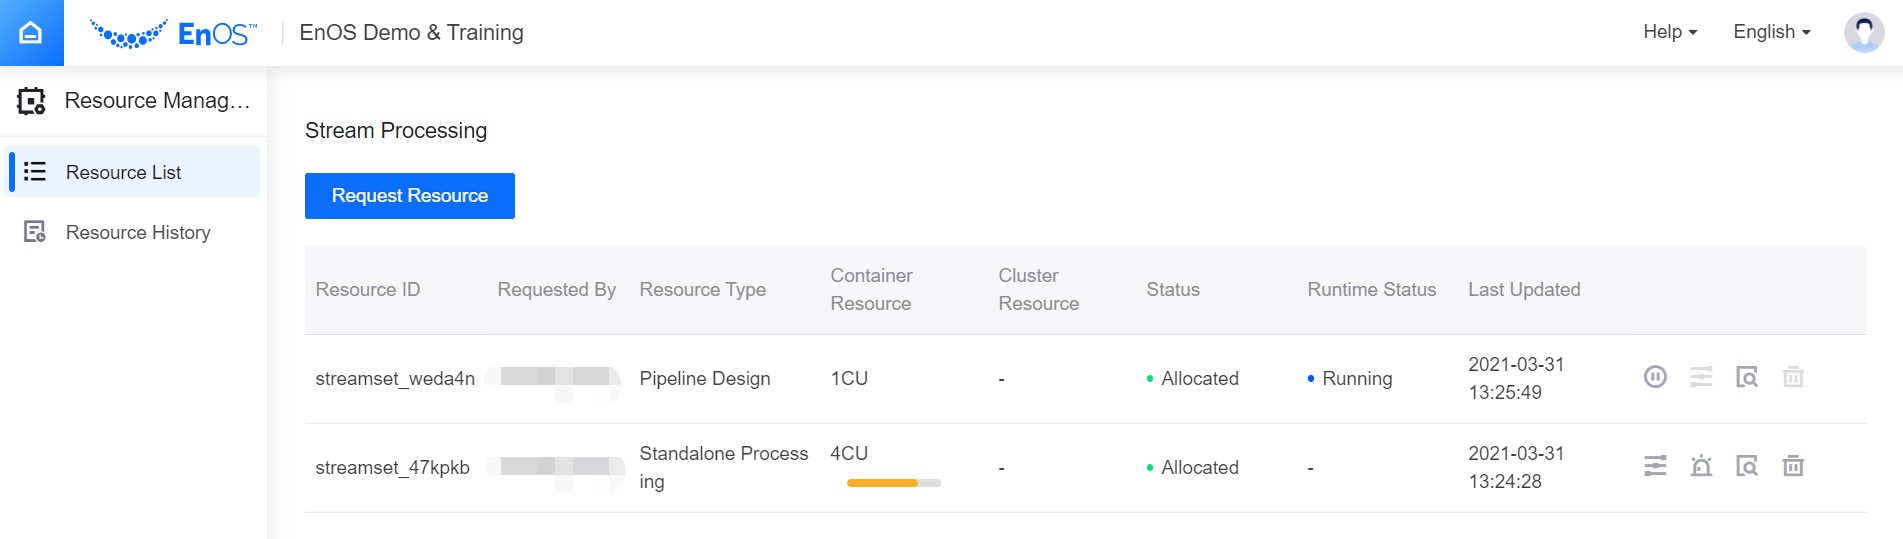
Viewing the Resource Allocation Status
After submitting the resource request, return to the Resource List page to view the status of the resource allocation.
- The status Allocating indicates that the resource allocation is still in progress.
- The status Allocated indicates that the resource allocation is completed. You can start the published stream processing jobs. For details about stream processing job operation, see Monitoring the Stream Processing Job.
Managing Resource Runtime Status
The resource of instance type has running status. The user applies for a resource instance. After the successful application, the user not only obtains the permission to use this part of resource, but also can create a service instance by using the resource, and the corresponding service capability is provided by the instance.
Currently, the resources that support managed resource health are as follows:
- Strean Processing Resource > Pipeline Design
- Batch Processing - Container Resource > Design Mode
- Data Catalog Resource
- Click the Start icon on the Resource Management page.
- When the status is Running, users can create service instances using resources.
Note
- Quota change or resource deletion can be performed only if the resource running status is Stopped. For example, see Monitoring the Stream Processing Job .
- After the quota change is successful, the resource running status is still Stopped, and the user needs to start the resource instance manually.
Extending Resource Allocation
If the allocated resource cannot meet the growing business needs, you can extend the resource allocation.
- On the Resource List page, find the resource request with Allocated status.
- Click the Change Quota icon.
- Select a higher resource specification and click the Request Now button.
- View the status of new resource allocation. When the new resource specification is displayed in the resource specification column, and the status is changed to Allocated, the resource expansion is completed successfully.
Changing Resource Quota
If the allocated resource exceeds the business needs, you can change the resource quota.
- On the Resource List page, find the resource request with Allocated status.
- Click the Change Quota icon.
- Select a lower resource specification and click the Request Now button.
- View the status of new resource allocation. When the new resource specification is displayed in the resource specification column, and the status is changed to Allocated, the resource quota is scaled down successfully.
Note
If the resources currently in usage are more than the scaled down resource specification, you need to release resources (such as stopping stream processing jobs) first, and then request to change the resource quota.
Setting Alarms for Resource Usage Rate
To avoid the impact of insufficient resources on normal business operations, you can set alarms for the resource usage rate.
- On the Resource List page, click the Alarm Setting icon.
- Enable the Resource Usage Alert switch and set the resource usage alert threshold (0.1 ~ 1.0).
- Select receivers for the alerts. At most 3 receivers can be selected.
- Select the alert sending mode, through email or SMS.
- Click Confirm to save.
- Currently, the following resources support alarm setting:
- Device File Storage resource
- Batch Processing - Queue resource
- Data Catalog resource
- Data Archiving resource
- File Storage HDFS resource
- Data Warehouse Storage resource
- Stream Processing resource
- Time Series Database resource
- Currently, the following resources support alarm setting:
Deleting Resources
Before using product functions such as streaming computing, big data, TSDB, etc., you must first request for the resources. If the requested resources are no longer needed after using for a period of time, in order to avoid resource waste, you can delete the corresponding resources through resource deletion.
Note
- The resource deletion function is temporarily unavailable for some resources.
- Once the resource is deleted, stored data cannot be restored.
- On the Resource Management > Resource List page, find the resource that you want to delete and click the Delete icon.
- If no functions are using the resource, after confirming the deletion, the system will completely delete it. If there are functions that are using the resource, you need to delete the associated objects in the prompted module first, and then return to the Resource List page to delete the resource.
- Currently, the following resources support resource deletion:
- Device Integration resource
- Protocol Gateway resource
- Batch Processing - Queue resource
- Batch Processing - Container resource
- Data Catalog resource
- Data Archiving resource
- Data Quality resource
- Data Federation resource
- File Storage HDFS resource
- Data Warehouse Storage resource
- Stream Processing resource
- Stream Processing Message Queue resource
- Time Series Database resource
- ML Model - Container resource
- Application Hosting resource
- Currently, the following resources support resource deletion:
Deleting Stream Processing Resource
The system will delete the resource if there are no stream processing jobs that are running. If there are, you need to stop the running jobs first and delete them before being able to delete the Stream Processing Resource. For the steps to stop a stream processing job, see Operating and Maintaining the Job.
Viewing Resource History
- On the Resource Management > Resource List page, find the resource that you want to view and click the Resource History icon.
- On the Resource History page, you can view the basic information and change record of the resource. For details, see Viewing Resource History.