Creating Chart and publish to the App Hub
This tutorial will guide you on how to create a Chart, create the Chart as a template in the App Hub, and finally publish and release it.
Scenario
Applications have been deployed and validated under the current project, and multiple applications as components of a given product need to be packaged into fixed versions for later deployment.That is, Configuring Chart will automatically package the container resources into Helm Chart format based on the application configuration selected in the task (For more details on Helm Chart format, refer to Helm Documentation_Charts),The values.yaml file in Chart is generated automatically by abstracting resource names, namespace, and other attributes into variables.
Main Steps
In this tutorial, you will.
- Create products associated with applications
- Create Chart in the pipeline
- Create templates through the App Hub
- Submit to the cluster where it needs to be published
Unit 1: Creating products associated with applications
In Unit 1, the creation of products and applications will be completed and applications will be associated to products.
Creating a New Product
Project leaders can create new products by following these steps.
Log in to the EnOS Management Console and select Enterprise Container Platform in the left navigation menu.
Select your organization from the Organization menu.
Select the created project from the Project menu.
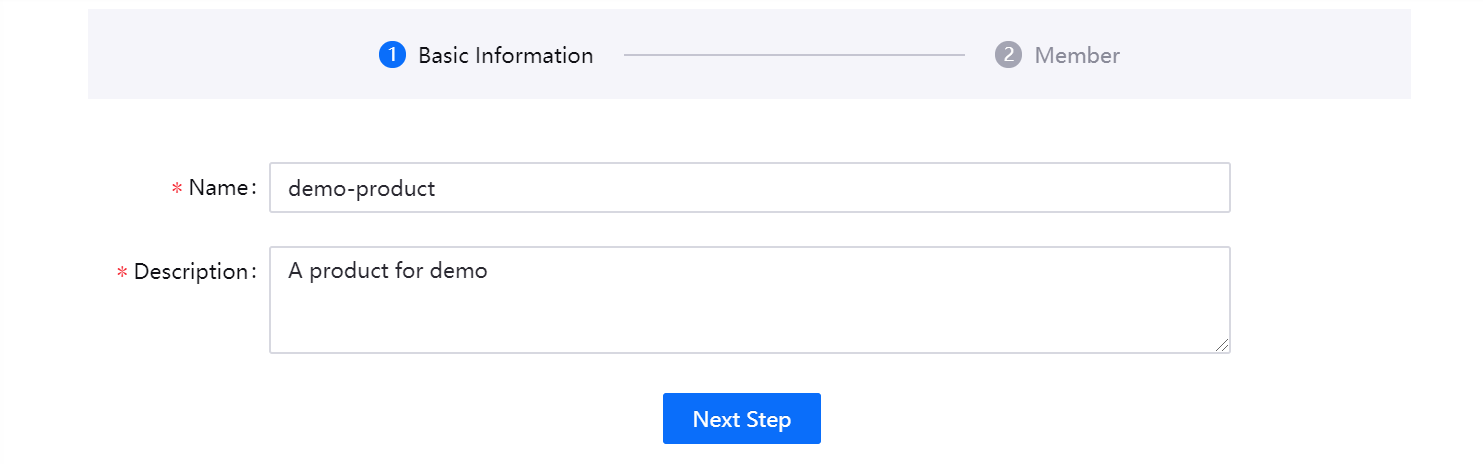
Select Product from the left navigation, click New Product, enter the product name and description, and click Complete. This article is an example of creating a product of type Common.
Note
Chart only supports products of the Common type, and at least one application must be associated with the product.
After creating the product, click Add > Create New Application in the Application module on the product details page to create an application associated with the changed product.
Creating an Application
The project leader for application development and deployment can create a new application by following the steps below, this article is an example of creating an application of type Normal.
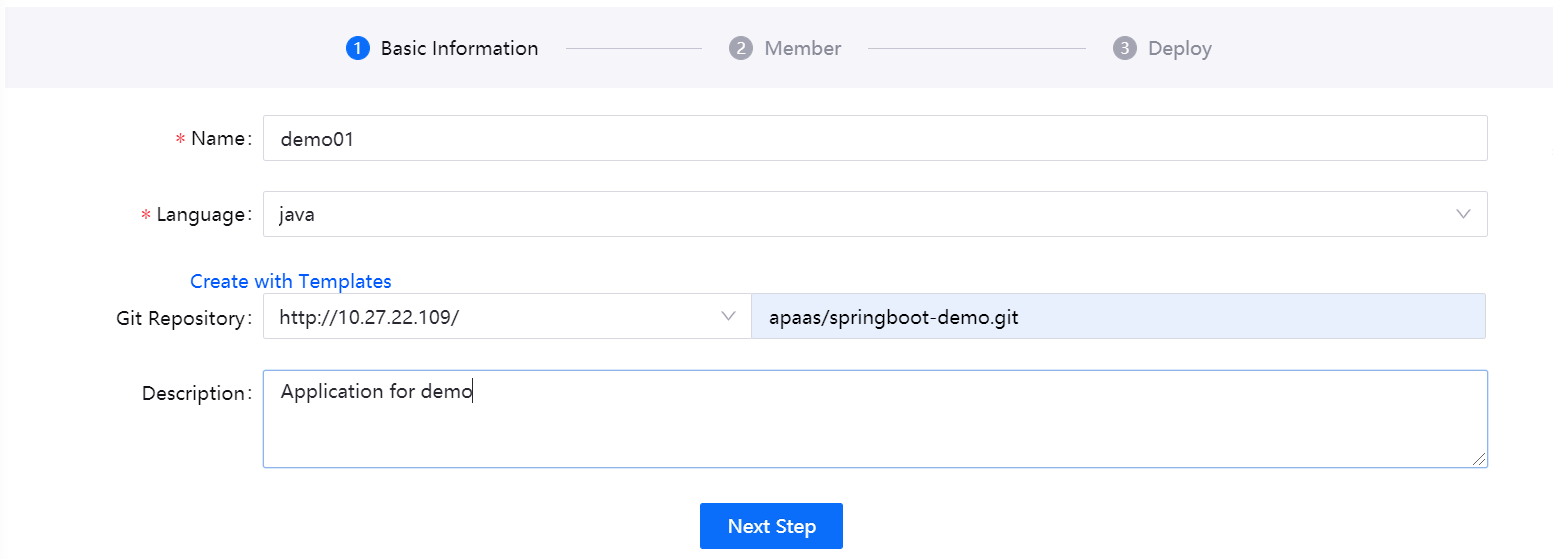
Enter the application name and select the application development language.
Enter or select the application GitLab repository, and enter the path of the Git project. The repository can be left blank here, and be edited in application Basic Information after it is created.
Enter description for the application and click Next Step.
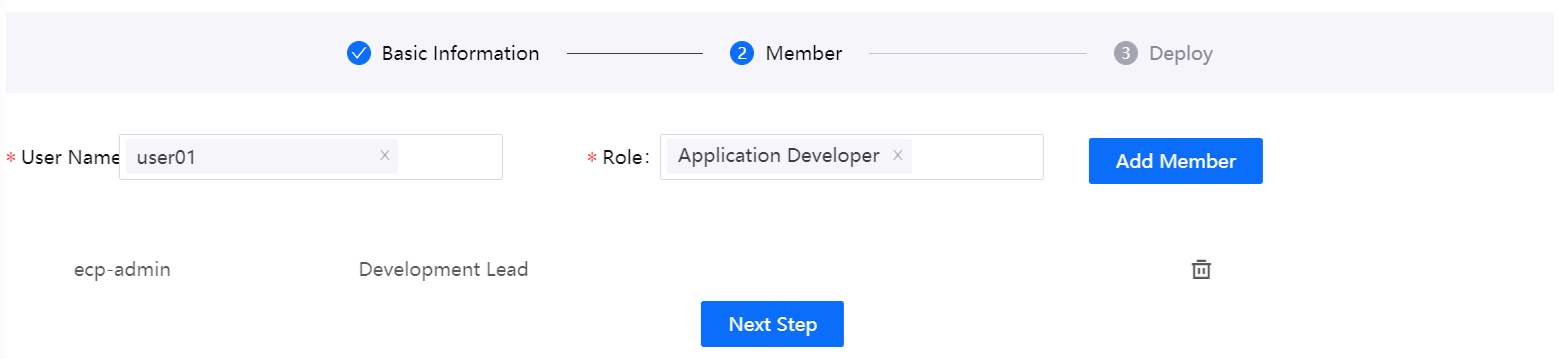
Select one or more application members and the member role, click Add Member, and click Next Step.
Configure the detailed container deployment information for the application. Click Skip to skip the configuration if you want to configure the container information after the application is created. For details, see Managing Container Configuration.
Once the application is created, you can view its basic information by clicking on the application name in the application list.
Unit 2: Creating Chart in the Pipeline
In Unit 2, a new product pipeline will be created and run to create Chart. product level pipeline is used to package multiple applications under one product into one Chart for later deployment via Helm. Supported task types: Create Chart.
Configuring Pipeline Base Information
Create a new pipeline for the product by following the steps below.
In the project list, click a project name to enter the project space.
In the left navigation bar, select Development > Pipeline.
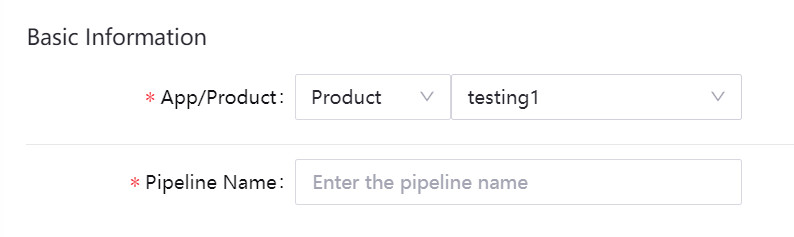
Click New Pipeline and enter the basic configuration information in the Basic Information section.
App/Product: Select an application from the created applications list.
Pipline Name: Enter the name of the pipeline.
After completing the basic information configuration, go on to the Stage section to configure the stages and jobs of the pipeline.
Configuring the Stages and Jobs
Configure the stages and jobs of the pipeline by following the steps below.
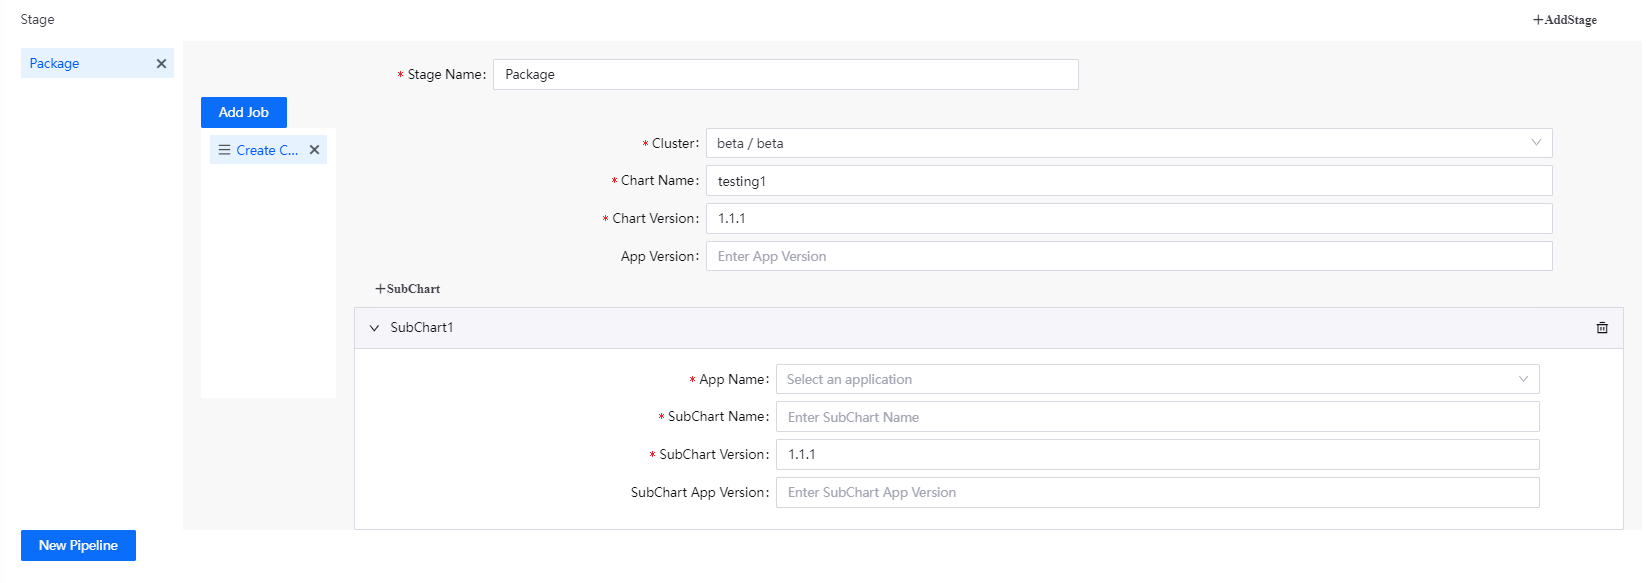
Enter the name for the stage at Stage Name.
Click the Add Job button, select the job type, and enter the required parameters.
- Create Chart
- Cluster: Select the environment and cluster used by the pipeline.
- Chart Name: Enter the Chart name, the default is the application/product name.
- Chart Version:Enter Chart version number.
- App Version: Enter the application version number.
- Create Chart
Click +SubChart to add a sub-Chart.
- SubChart
- App Name: Select the application associated with the product.
- SubChart Name: Enter the application of the SubChart, the default is the application name.
- SubChart Version: Enter the SubChart version number, the default is the Chart version number.
- SubChart App Version Number: Enter the SubChart application version number, which defaults to the application version number.
Note
At least one SubChart must be included.
- SubChart
You can click the +SubChart button and repeat the above steps to add multiple sub-charts.
Once the configuration is complete, click the New Pipeline button to save the pipeline configuration.
After returning to the Pipeline List screen, select Products and click on the pipeline created in the previous step.
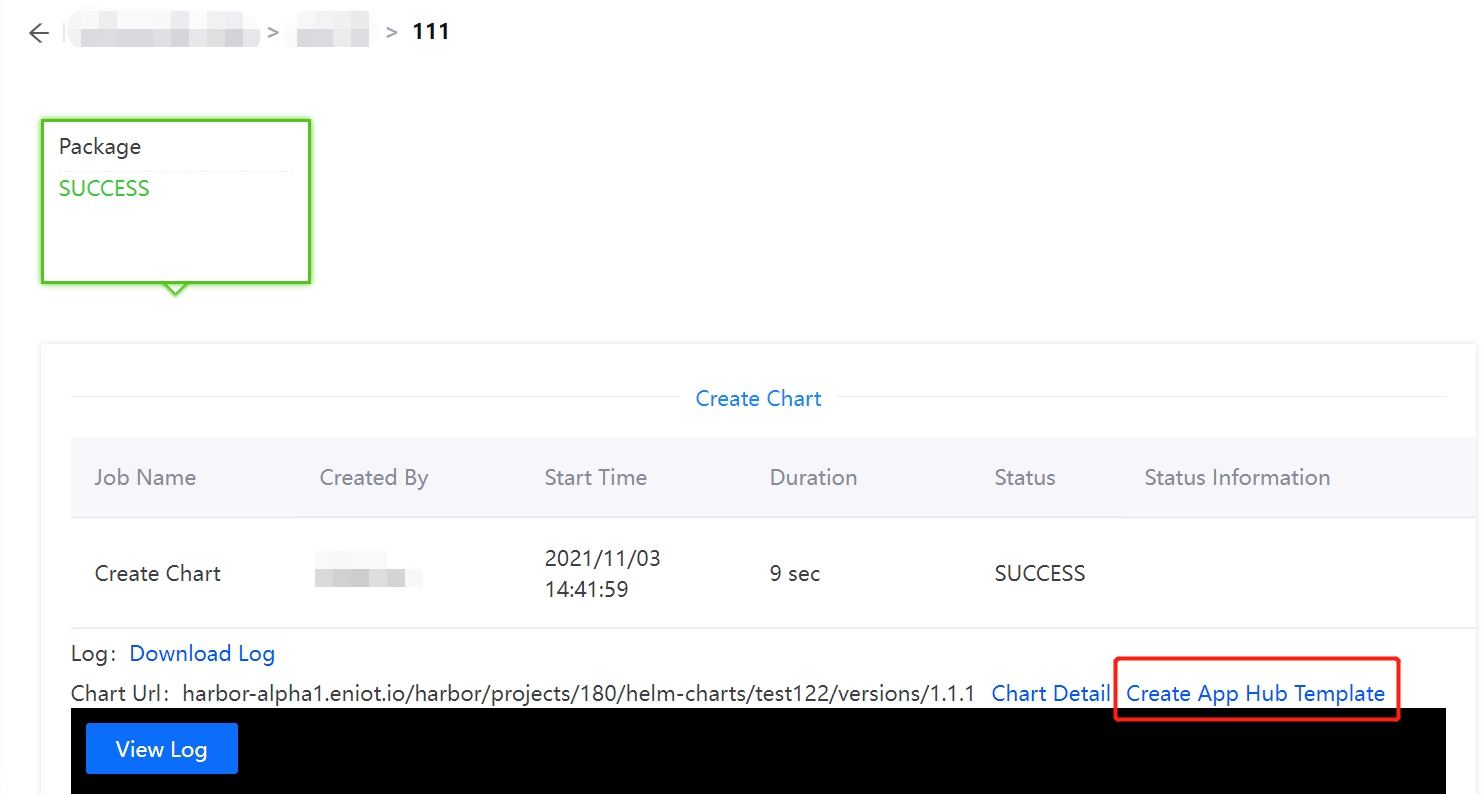
In the pipeline details page, click Run to run the pipeline.
After running successfully, Chart is packaged successfully, click Create App Hub Template to create this Chart as an App Template.
Unit 3: Creating templates via the App Hub
In Unit 3, the created Chart will be created as an application template.
Provide the following basic information.
- Name: Enter the name of the application template.
- Icon: Upload an icon for the application template.
- Category: Select a category for the application template.
- Developer:Required. Default username for current user.
- Developer Organization:Required. Default current user Organization name.
- Contact: Not required.
- Introduction: Enter a short description for the application template.
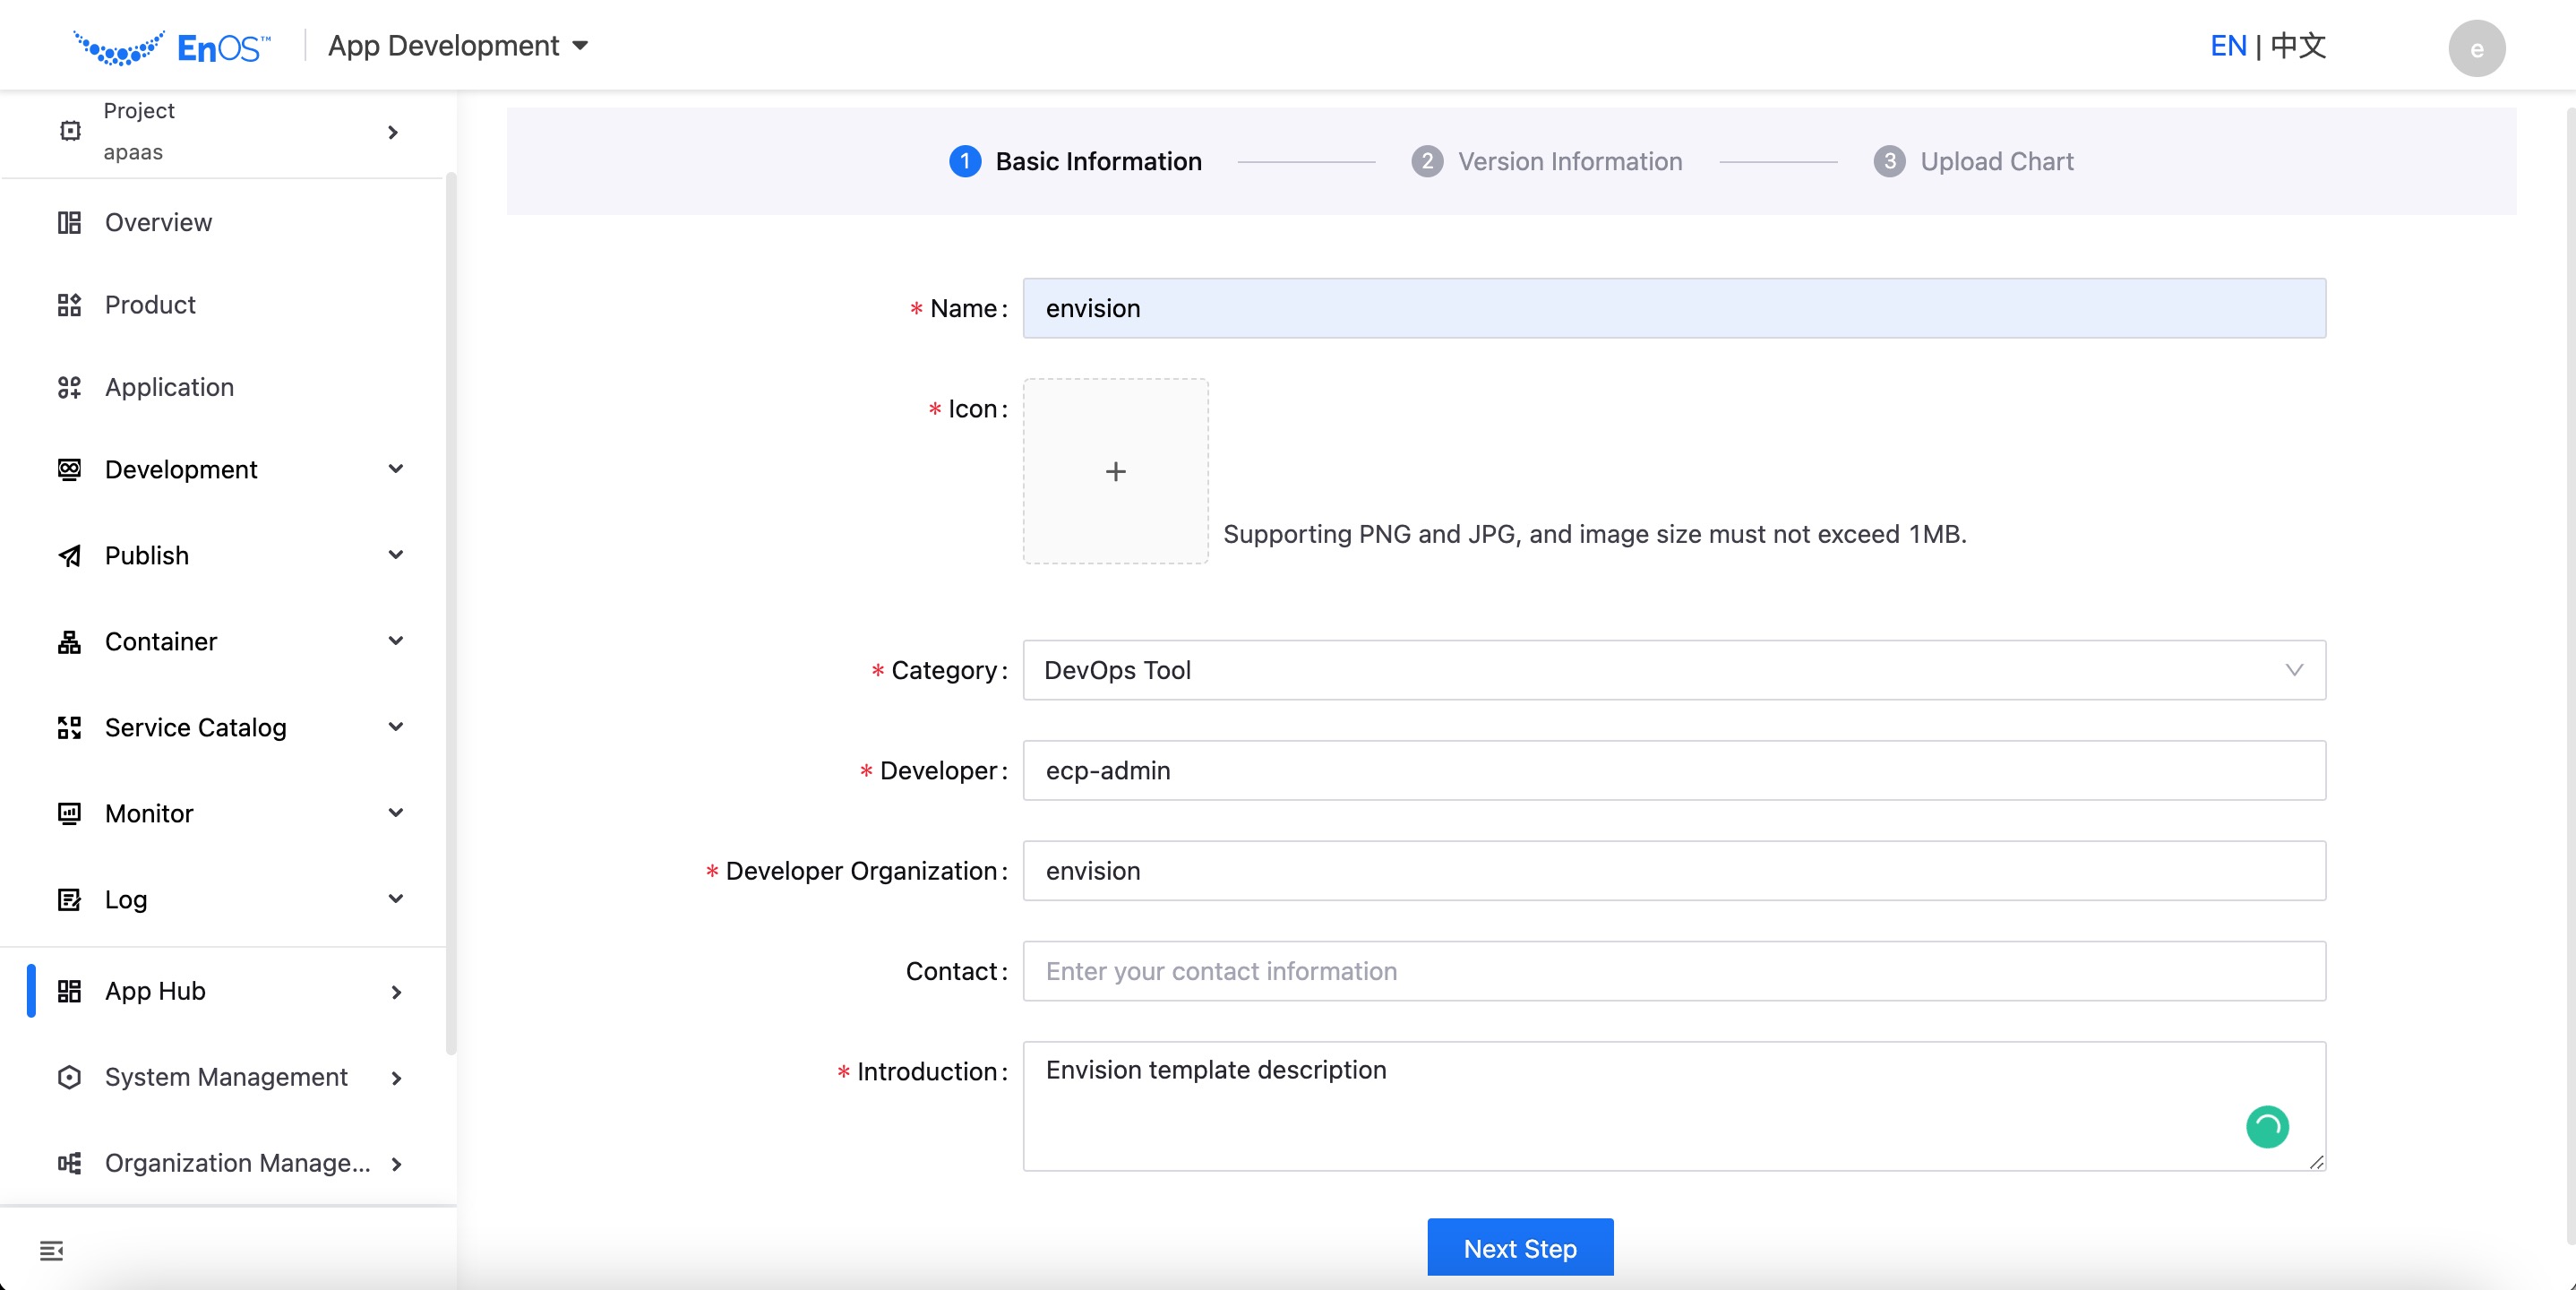
Click Next Step and enter the version number and update instructions of the application template on the Version Information page.
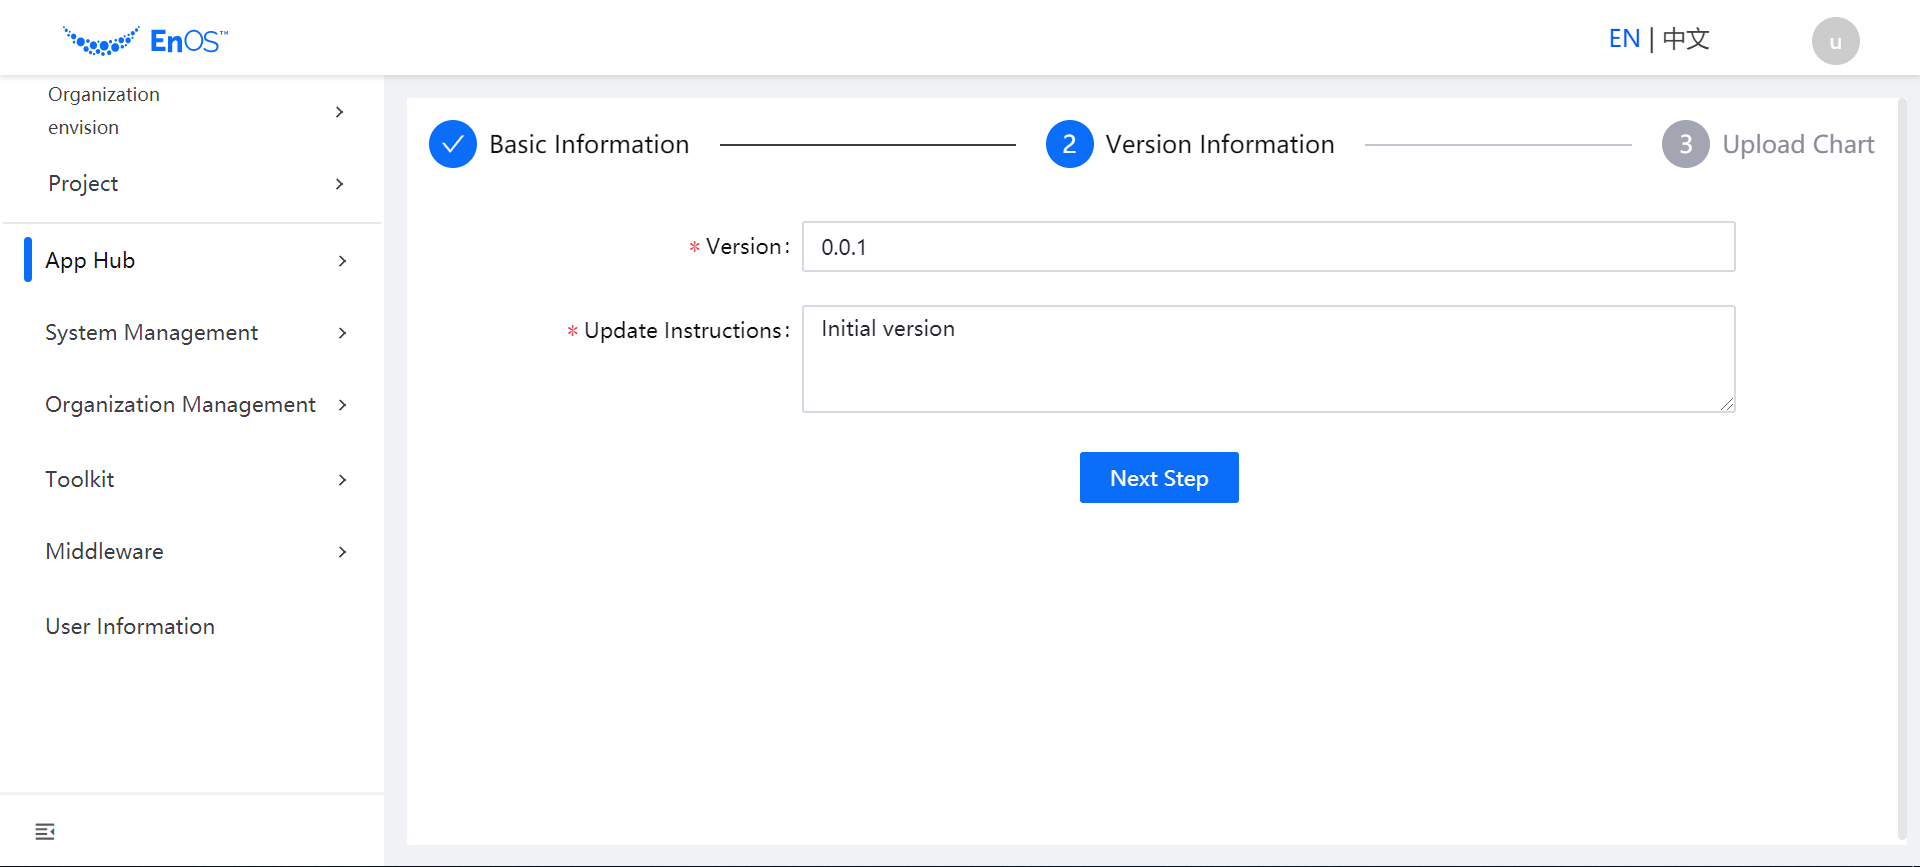
Click Next Step and in the Upload Chart page, select Local Directory or Image Repository to upload and click Complete to finish adding the application template.
After the application template is added, its initial state will be Developing by default.
Unit 4: Releasing to the cluster that needs to be published
In Unit 4, the created application template will be deployed.
The existing versions of the template are listed in the Version section. Click the Submit icon, after selecting the cluster to be released in the pop-up window, click OK to Release the template version.
The state will change to Released when the system administrator approves the application template.
In the left navigation bar, select App Hub > Catalog.
Use AppId to find an app template that is already on the shelf and click on it. View the details of the app template, select the version of the template you need to deploy, and click Deploy

Select the project, environment, and cluster for deploying the application instance, enter the name of the application, and click OK to complete the deployment of the application instance.
